
Blog - Restoration 1 of West Denver
CONTACT US TODAY
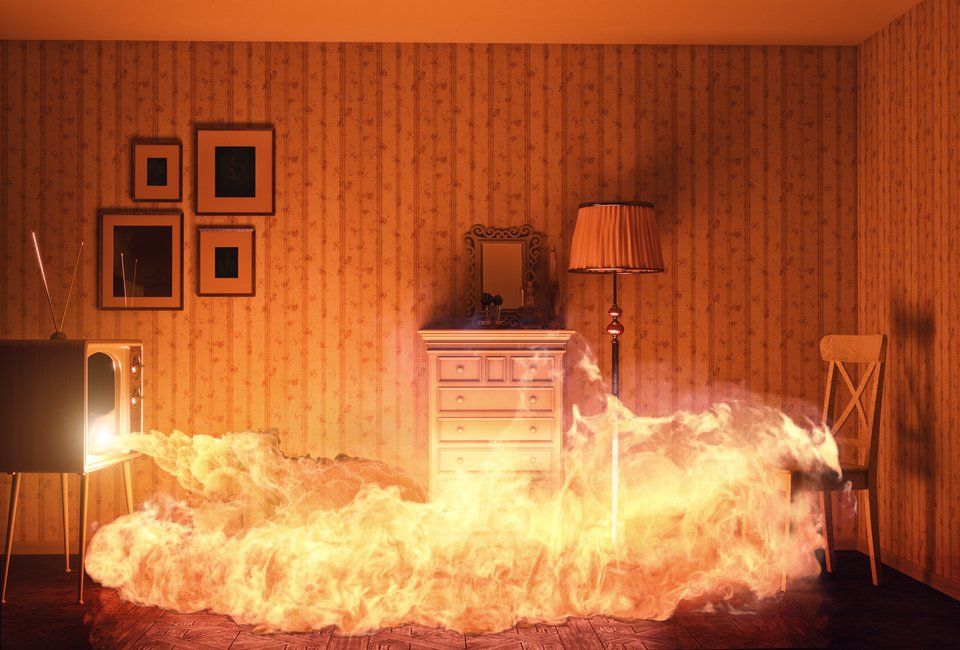
It’s that time of the year again – the weather turns cooler, especially at night, and we turn on our furnaces, add a space heater to the room, introduce extension cords and light our fireplaces. The truth is, there are numerous dangers in both the home and office settings that are initiated by cooler weather. What may seem innocent, could turn disastrous. Take a few minutes to act on these simple things you can do to avoid disasters – and rest more easily.
Problems With Furnaces. It’s been a while since the furnace has been operating consistently. Take the time to go through this checklist.
- Replace or clean your furnace filter. A new filter makes your furnace operate more efficiently, so replacing them even more often than recommended can’t hurt, and may save you money in the long run.
- Take some time to physically inspect your furnace. While furnaces are usually stored in out of the way places – closets, basements, or attics – these are also places where homeowners and business owners might store flammable items. So look carefully and make sure any paints or paint thinners, gasolines or even rags are not near your furnace.
- Schedule your Fall maintenance check. Your furnace should be cleaned and inspected every year. This is especially true if you have an older furnace. While newer furnaces are sometimes equipped with automatic shut off features if a problem is detected, your older furnace requires a physical inspection.
Space Heaters. Many families turn to space heaters as supplemental sources of heat. A few things that you should keep in mind:
- Make sure the outlet you are using to power the space heater is equipped to handle the appliance.
- Be sure to place the heater at least 3 feet from furniture, draperies and bedding.
- If you have pets or small children, do not leave a room without turning the heater off.
Smoke Detectors and Carbon Monoxide Monitors. We put both of these in the same category as they should be treated equally. Place carbon monoxide monitors and smoke detectors on every floor of your home or office. CO2 detectors are inexpensive and no installation is necessary. If there is a CO2 leak, which you will not smell since it is odorless, the detector will sound an alarm. Every furnace produces CO2, but a properly functioning furnace will safely exhaust it from your home. One quick reminder, some of the newer smoke alarms also function as carbon monoxide detectors, so you might want to find the paperwork on your alarms before purchasing separate carbon monoxide detectors.
Test your Fire and Smoke Detectors. The reminder comes to us every year around the time we are changing from Daylight Savings Time. But often, people forget. So consider this your second reminder.
Cooking Fires. Almost 25% of home fires are caused by cooking fires. It’s easy to turn on a burner and then get distracted. Be sure to keep any towels or drapes away from hot burners. Never leave something on the stove – the grease in an unattended frying pan can catch on fire easily. Turning the heat too high when you start to cook is also dangerous. You may be in a hurry, but smoke or grease can accumulate fast when you are frying or sauteing.
Fireplace Safety. If you have a log-burning fireplace, be sure to have the chimney swept every year. Soot and debris can collect in the chimney and become a fire hazard. Remind everyone to keep blankets, curtains, rugs and toys away from the fire. And never leave children or pets unattended around a fireplace.
Electrical Fires. Overloaded extension cords can be the biggest problem. Bad connections and faulty wiring can trigger a fire that can be lethal. Ten percent of home firms result from electrical equipment failures.
An Abundance Of Paper . Needless to say, paper is a huge contributor to both home and office fires. How you store your paperwork makes a difference. Be careful not to overload closets and garage spaces. And if you are around people who tend to keep paper in large quantities, consider hiring an expert who can help with decluttering.
The U.S. Fire Administration posts seasonal tips on preventing fires in home and offices. Reference their website occasionally to make sure you, your family and co-workers are safe.
One More Tip. Home Automation is an amazing industry right now. If you’ve had an alarm installed recently, you know how you can set controls using your smart phone. The same is true for protecting your safety. You can now get devices or phone apps that synch with your lights and/or locks to turn them on or off, call the fire department or unlock your front door for easy escape. Call your local Home Automation expert for more information.
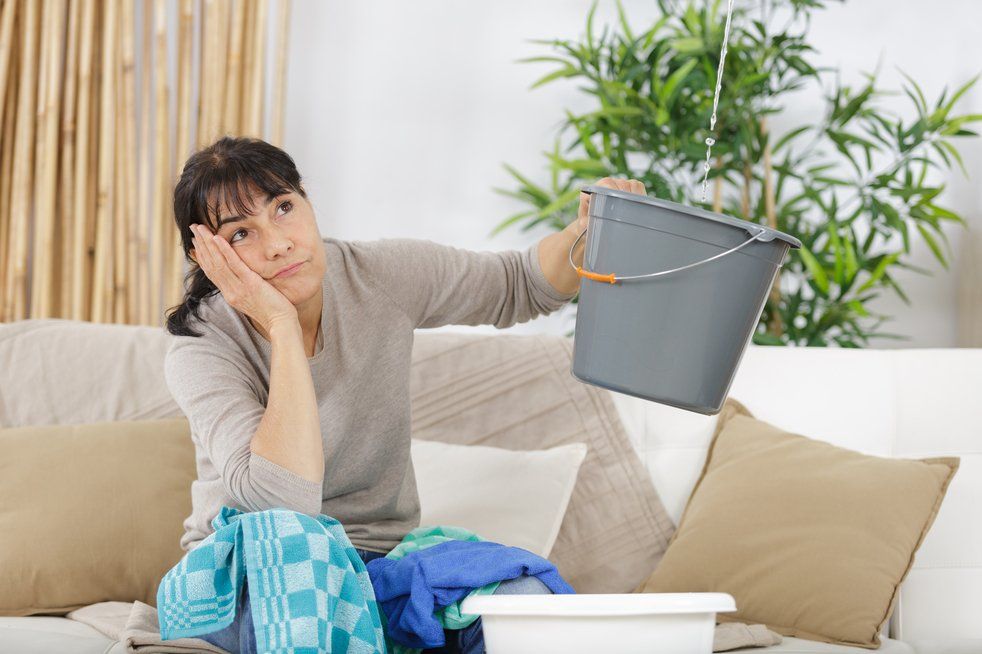


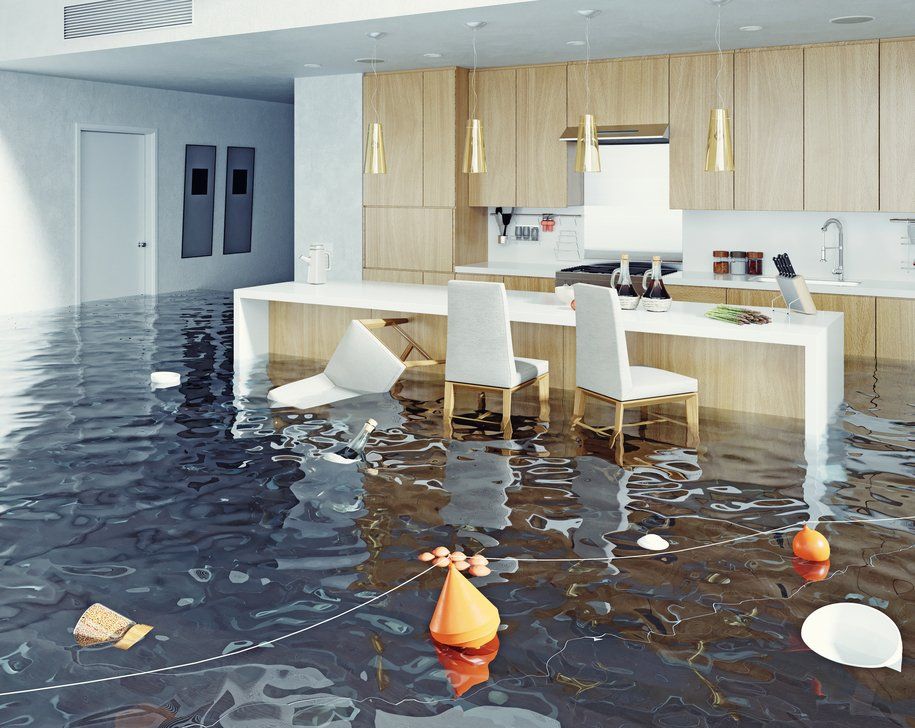

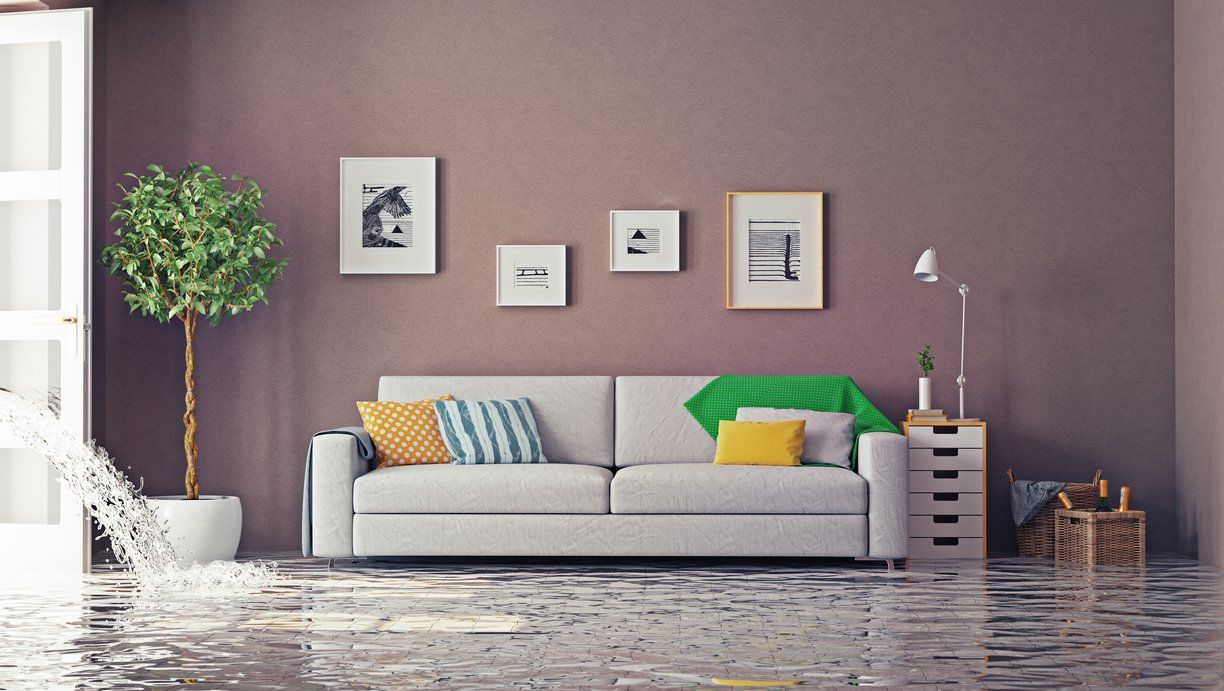
A crawl space floods for various reasons. You may live in a flood zone, the drainage around your home may be ineffective, or your crawl space wasn’t designed correctly in the first place. Whatever the reason, there’s a good chance that you will have to deal with a flooded crawl space before too long.
Cleaning a crawl space. There are several steps necessary to truly dry out a crawl space and determine the job is done correctly. The job starts with removing any standing water. Depending on how much water has gotten into the flooded space, you may need to till the soil and treat it with an anti-microbial product. When drying out the crawl space, you will also need to remove any items in the area. If any insulation has been water-damaged, throw it out and replace it with new insulation.
Dry out more than the crawl space floor. Drying out a crawl space includes drying out the wood framing, the subflooring above the crawl space and the crawl space floor.
After drying the crawl space. Once everything is dry, it will be necessary to clean the surfaces inside the crawl space to discourage the spread of mold. It’s also necessary to check the wiring in the crawl space for damage. It may be unsafe to use the outlets in or near the crawl space.
Will my crawl space dry out on its own? If there is heavy water saturation and the temperature in the crawl space does not get much higher than 40 or 50 degrees, the process to dry out the crawl space could take several weeks and possibly even months. We often hear from homeowners that the smell of the damp crawl space is intolerable and becomes even more aggravating with time.
Why hire professionals? Restoration1 has state-of-the-art heating and dehumidifying equipment needed to speed up the drying process and even make it possible to dry it out in the first place. Professional restoration companies are able to accomplish these jobs much quicker, and more thoroughly, than if you tried taking care of the entire project yourself.
Assess possible issues. There are several other factors that should be considered when there is water in the crawl space. Homeowners should evaluate the drainage around the house as ineffective drainage can lead to rain runoff getting into the crawl space. You may also need to install a sump pump. And finally, in order to keep a crawl space completely dry, you may need to encapsulate the crawl space. Again, encapsulation is only effective if performed by professionals.
Crawl space flooding is a common problem , but one that you shouldn’t have to live with. There are solutions that professional restoration companies can recommend. Professionally trained technicians, with the proper equipment, will be able to dry your crawl space faster and resolve issues better than doing the project on your own. Give us a call at 720-605-2994 or visit our website for more information on Restoration1 of West Denver and our water damage experts.
We get it. Carpeting is expensive. And maybe your carpet hasn’t been installed for a very long time. It’s so tempting to try to dry it out and save it. But is that wise? Here are some words from the experts.
According to the Centers for Disease Control (CDC), wet carpets are actually a breeding ground for mold and bacteria growth – both of which can have some pretty disastrous affects on individuals. For some people, severe reactions can result, for others, there may be no noticeable symptoms. So how do you decide? There are five things you should consider when deciding whether your carpet needs to be destroyed.
- 1. Determine how much water actually got into your carpeting. Whether your carpeting can be dried, cleaned and saved depends on the amount of water that was soaked into your carpet, carpet pad, flooring and subflooring. The more water there was, the harder it will be to dry. And the more likely that the water contained contaminants. If you’re not sure how much water made it to your floor, you should replace the carpeting. The IICRC says that if “a material is suspect, [you] should assume hazardous material is present.” They further comment that highly porous materials such as carpeting, carpet pad, wet insulation, wet gypsum wall board (e.g., Drywall, Sheetrock) and other affected materials contain large amounts of water.
- Consider how long the water sat on your carpet. If your home had a water leak that made it to your carpeting, it’s essentially a race against time to prevent bacterial growth and the telltale splotches of black residue that will result. FEMA recommends that the cleaning process of wet carpeting must begin within a 24 to 48-hour window – after that, mold and mildew begin to grow. If you miss that window of time, you will need new carpeting.
- Where did the water come from? This is sometimes hard to determine. If the carpeting was soaked with water that may be suspicious – for instance, toilet backflow, floodwaters, sewage contaminated water – don’t even think about salvaging the carpet or carpet padding! Why? These particular sources of water most likely include contaminants. And if contaminants are present, you can seriously threaten your health or the health of loved ones in the home. You should only “consider” cleaning carpets that have been soaked in water if you believe the water safe enough to drink.
- Is it even POSSIBLE to dry, clean and disinfect your carpet? In most cases, the mere fact of pulling up and removing your carpet will destroy it. And remember that removing all of your carpeting in one piece can be extremely difficult, especially if it covers a large room. As a rule, carpeting is usually cut into smaller pieces when it is removed from a home, which would again require replacement.
- Finally, consider the age of the carpet. In some cases, it’s not a matter of if you can salvage your carpet, but whether you should you even bother. In many cases, trying to salvage damaged carpeting is not worth the effort.
Back To Your Health. As we mentioned above, wet carpets can be a breeding ground for bacteria. In many cases, the water and carpet likely contain infectious organisms. According to the CDC , for individuals with asthma or allergies to mold, even relatively small amounts of mold and bacteria exposure can be dangerous. Some recent studies have even suggested that mold exposure to children early in life can increase their risks of developing asthma. The CDC also recommends that if your home was flooded, and you could not dry it out within 24-48 hours, you probably have mold. Remember – even if you do not see or smell mold on clothing, drywall, furniture, cardboard boxes, or books, it may be hidden under or behind items like cabinets, carpet, cushions, or even inside your home’s walls.
And if you have pre-treated carpets? In the last decade, some carpet manufacturers have begun treating carpets with antifungal and antibacterial chemicals. While this process may help reduce the amount of fungus and bacteria in a carpet on a day-to-day basis, the carpet should still be replaced after significant water damage.
The hard truth. For carpeting that had water damage, full replacement is the best option in most cases. Although you can take your chances and attempt to save some money by keeping water-logged carpeting, you’re putting your home and family at risk.
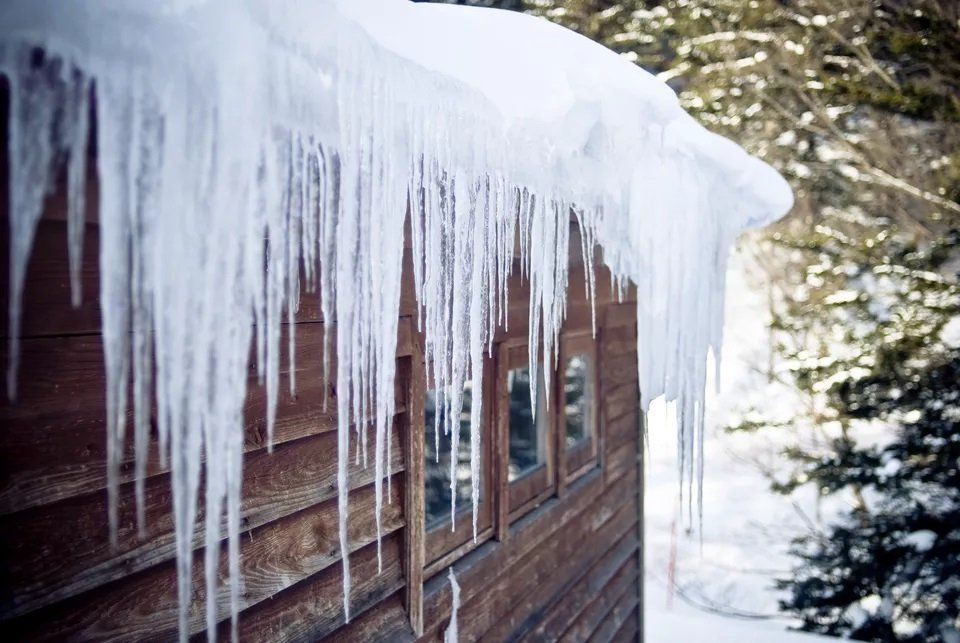
With the latest storms, Ice Dams will begin to make an appearance again. They may be beautiful, but if you notice icicles gathered along your gutter and roofline it can spell disaster. Why? Their presence most likely indicates the presence of an ice dam. Read on to learn more about ice dams, how to get rid of them, and what you can do to prevent them.
What is an ice dam?
An ice dam is a ridge of ice that forms along the edge of a roofline, preventing melting snow from draining (as water) off the roof. The snow on the roof will melt more quickly than the ice at the edge because of heat loss from the structure. For example, the warm air in an attic warms the roof and, over time, the snow begins to melt. This melting snow is now water, and it can back up behind the ice dam and eventually make its way into your home or office. If this happens, it can cause serious damage to your ceilings, walls, insulation, and any other surface it touches.
How to get rid of ice dams
There are basically two ways to approach ice dam removal: the quick fix and the slow melt.
Quick Fix
The fastest method is to chip away at the ice by breaking it into small chunks.
- Use a blunt mallet and tap lightly.
- Don’t use a sharp tool, such as an ax.
- Go slowly – pieces of shingle could break off along with the ice.
- Hire a professional, since this is dangerous work.
The Slow Melt
The slower method uses calcium chloride – NOT rock salt! – and time to melt the ice.
- Create a trough-maker by using a tube of cloth or the leg of panty hose.
- Tie one end tightly and fill the tube with the calcium chloride.
- Once full, tie the other end off.
- Lay the trough vertically along the ice dam and allow time for melting to occur.
Both methods can be tricky and dangerous for a homeowner. Remember, it’s best to hire an experienced professional so you don’t add further and unnecessary damage to your roof.
How to prevent ice dams
It’s far better to do all you can to prevent ice dams from forming in the first place. Here are some tips to consider.
- In late fall, make sure your gutters and downspouts are clear of debris. Again, this might be best done by a professional.
- Evaluate the insulation in your attic and upgrade or replace to prevent conduction and convection of heat through the ceiling.
- Consider venting the space between the insulation and roof sheathing, so that any escaping heat will be carried away.
- Seal all areas where warm air might leak from the attic into the area of the roof just below the sheathing.
If a winter storm caught you off-guard before you had time to address any of these preventative measures, you can still take action to prevent ice dam formation. Using a rake or a broom from the top of a ladder, sweep fallen snow away from the roof. Be careful – disturbing the snow at the edge can cause the snow further up the roof to slide down! Alternatively, snow can be removed by using a shovel to push it off. Both methods are dangerous and can pose threat of injury, so hire a professional to do the work.
Calendar these steps and start
preparing for potential ice dams long before winter arrives next year. When you do that, you can have
peace of mind even during the worst of storms. But don’t despair – even if
winter caught you unprepared, your local professional can take care of any
dams that have formed. Hiring a pro. like Restoration 1 of West Denver will be a small investment compared to the
cost of repairing damage created by an ice dam! Give us a call at 720-605-2994
.


Recent Blog Posts
It’s that time of the year again – the weather turns cooler, especially at night, and we turn on our furnaces, add a space heater to the room, introduce extension cords and light our fireplaces. The truth is, there are numerous dangers in both the home and office settings that are initiated by cooler weather. What may seem innocent, could turn disastrous. Take a few minutes to act on these simple things you can do to avoid disasters – and rest more easily.
Problems With Furnaces. It’s been a while since the furnace has been operating consistently. Take the time to go through this checklist.
- Replace or clean your furnace filter. A new filter makes your furnace operate more efficiently, so replacing them even more often than recommended can’t hurt, and may save you money in the long run.
- Take some time to physically inspect your furnace. While furnaces are usually stored in out of the way places – closets, basements, or attics – these are also places where homeowners and business owners might store flammable items. So look carefully and make sure any paints or paint thinners, gasolines or even rags are not near your furnace.
- Schedule your Fall maintenance check. Your furnace should be cleaned and inspected every year. This is especially true if you have an older furnace. While newer furnaces are sometimes equipped with automatic shut off features if a problem is detected, your older furnace requires a physical inspection.
Space Heaters. Many families turn to space heaters as supplemental sources of heat. A few things that you should keep in mind:
- Make sure the outlet you are using to power the space heater is equipped to handle the appliance.
- Be sure to place the heater at least 3 feet from furniture, draperies and bedding.
- If you have pets or small children, do not leave a room without turning the heater off.
Smoke Detectors and Carbon Monoxide Monitors. We put both of these in the same category as they should be treated equally. Place carbon monoxide monitors and smoke detectors on every floor of your home or office. CO2 detectors are inexpensive and no installation is necessary. If there is a CO2 leak, which you will not smell since it is odorless, the detector will sound an alarm. Every furnace produces CO2, but a properly functioning furnace will safely exhaust it from your home. One quick reminder, some of the newer smoke alarms also function as carbon monoxide detectors, so you might want to find the paperwork on your alarms before purchasing separate carbon monoxide detectors.
Test your Fire and Smoke Detectors. The reminder comes to us every year around the time we are changing from Daylight Savings Time. But often, people forget. So consider this your second reminder.
Cooking Fires. Almost 25% of home fires are caused by cooking fires. It’s easy to turn on a burner and then get distracted. Be sure to keep any towels or drapes away from hot burners. Never leave something on the stove – the grease in an unattended frying pan can catch on fire easily. Turning the heat too high when you start to cook is also dangerous. You may be in a hurry, but smoke or grease can accumulate fast when you are frying or sauteing.
Fireplace Safety. If you have a log-burning fireplace, be sure to have the chimney swept every year. Soot and debris can collect in the chimney and become a fire hazard. Remind everyone to keep blankets, curtains, rugs and toys away from the fire. And never leave children or pets unattended around a fireplace.
Electrical Fires. Overloaded extension cords can be the biggest problem. Bad connections and faulty wiring can trigger a fire that can be lethal. Ten percent of home firms result from electrical equipment failures.
An Abundance Of Paper . Needless to say, paper is a huge contributor to both home and office fires. How you store your paperwork makes a difference. Be careful not to overload closets and garage spaces. And if you are around people who tend to keep paper in large quantities, consider hiring an expert who can help with decluttering.
The U.S. Fire Administration posts seasonal tips on preventing fires in home and offices. Reference their website occasionally to make sure you, your family and co-workers are safe.
One More Tip. Home Automation is an amazing industry right now. If you’ve had an alarm installed recently, you know how you can set controls using your smart phone. The same is true for protecting your safety. You can now get devices or phone apps that synch with your lights and/or locks to turn them on or off, call the fire department or unlock your front door for easy escape. Call your local Home Automation expert for more information.