
Rotisserie
Most people would agree with me that most rotisserie chickens are pretty tasty, but in my opinion, you will often find that the quality of chicken meat is not the best and the chef doesn’t prepare it as you would prefer. Preparing food by utilizing a rotisserie cooking method is very easy and fun at the same time. Be creative and change the cooking process for your favorite steak recipe or even prepare a mind-blowing Thanksgiving turkey dinner.
What I Need?
- A rotisserie attachment for your grill (this is the one I use) or for some kind of ovens.
- Or a small rotisserie oven, which is about the size of a microwave, and is fairly inexpensive.
- Or you can even partially replicate the rotisserie technique on your grill without rotisserie attachments.


Important:
Before you start, read your manuals carefully to know the limits and requirements to properly run your rotisserie attachment or rotisserie oven.
1. Prepare Meat on Rotisserie
There are two major techniques in preparing meat on a rotisserie: Rotisserie of a whole piece of meat or gyro style rotisserie.
A. Whole piece of meat:
- This method is great for reaching perfect rotisserie results.
- It can be used for any large piece of meat, such as pork ham (raw), pork shoulder, beef roast, beef brisket, turkey breast, whole chicken, whole turkey, and other similar kinds of meats.
- Instructions:
1. Prepare the marinade based on the recipe.2. Inject with marinade (using a meat injector):
2.1. Place meat into a large mixing bowl or large food container.2.2. Collect part of the marinade with the meat injector and inject into the meat - inject right in front of the bone (or ⅓ deep if you are preparing boneless meat).2.3. Repeat injecting evenly into different places on the meat until you run out of marinade.2.4. Continue the same way with about ½ of the marinade released during injecting.2.5. Turn the meat in the marinade that was released during injecting.2.6. Generously salt and pepper the meat on the top and sides (if you are preparing a bird, salt on the breast side and on all sides).2.7. Cover the meat with plastic wrap and let it rest (marinating) overnight in the refrigerator (or for at least 3 hours).
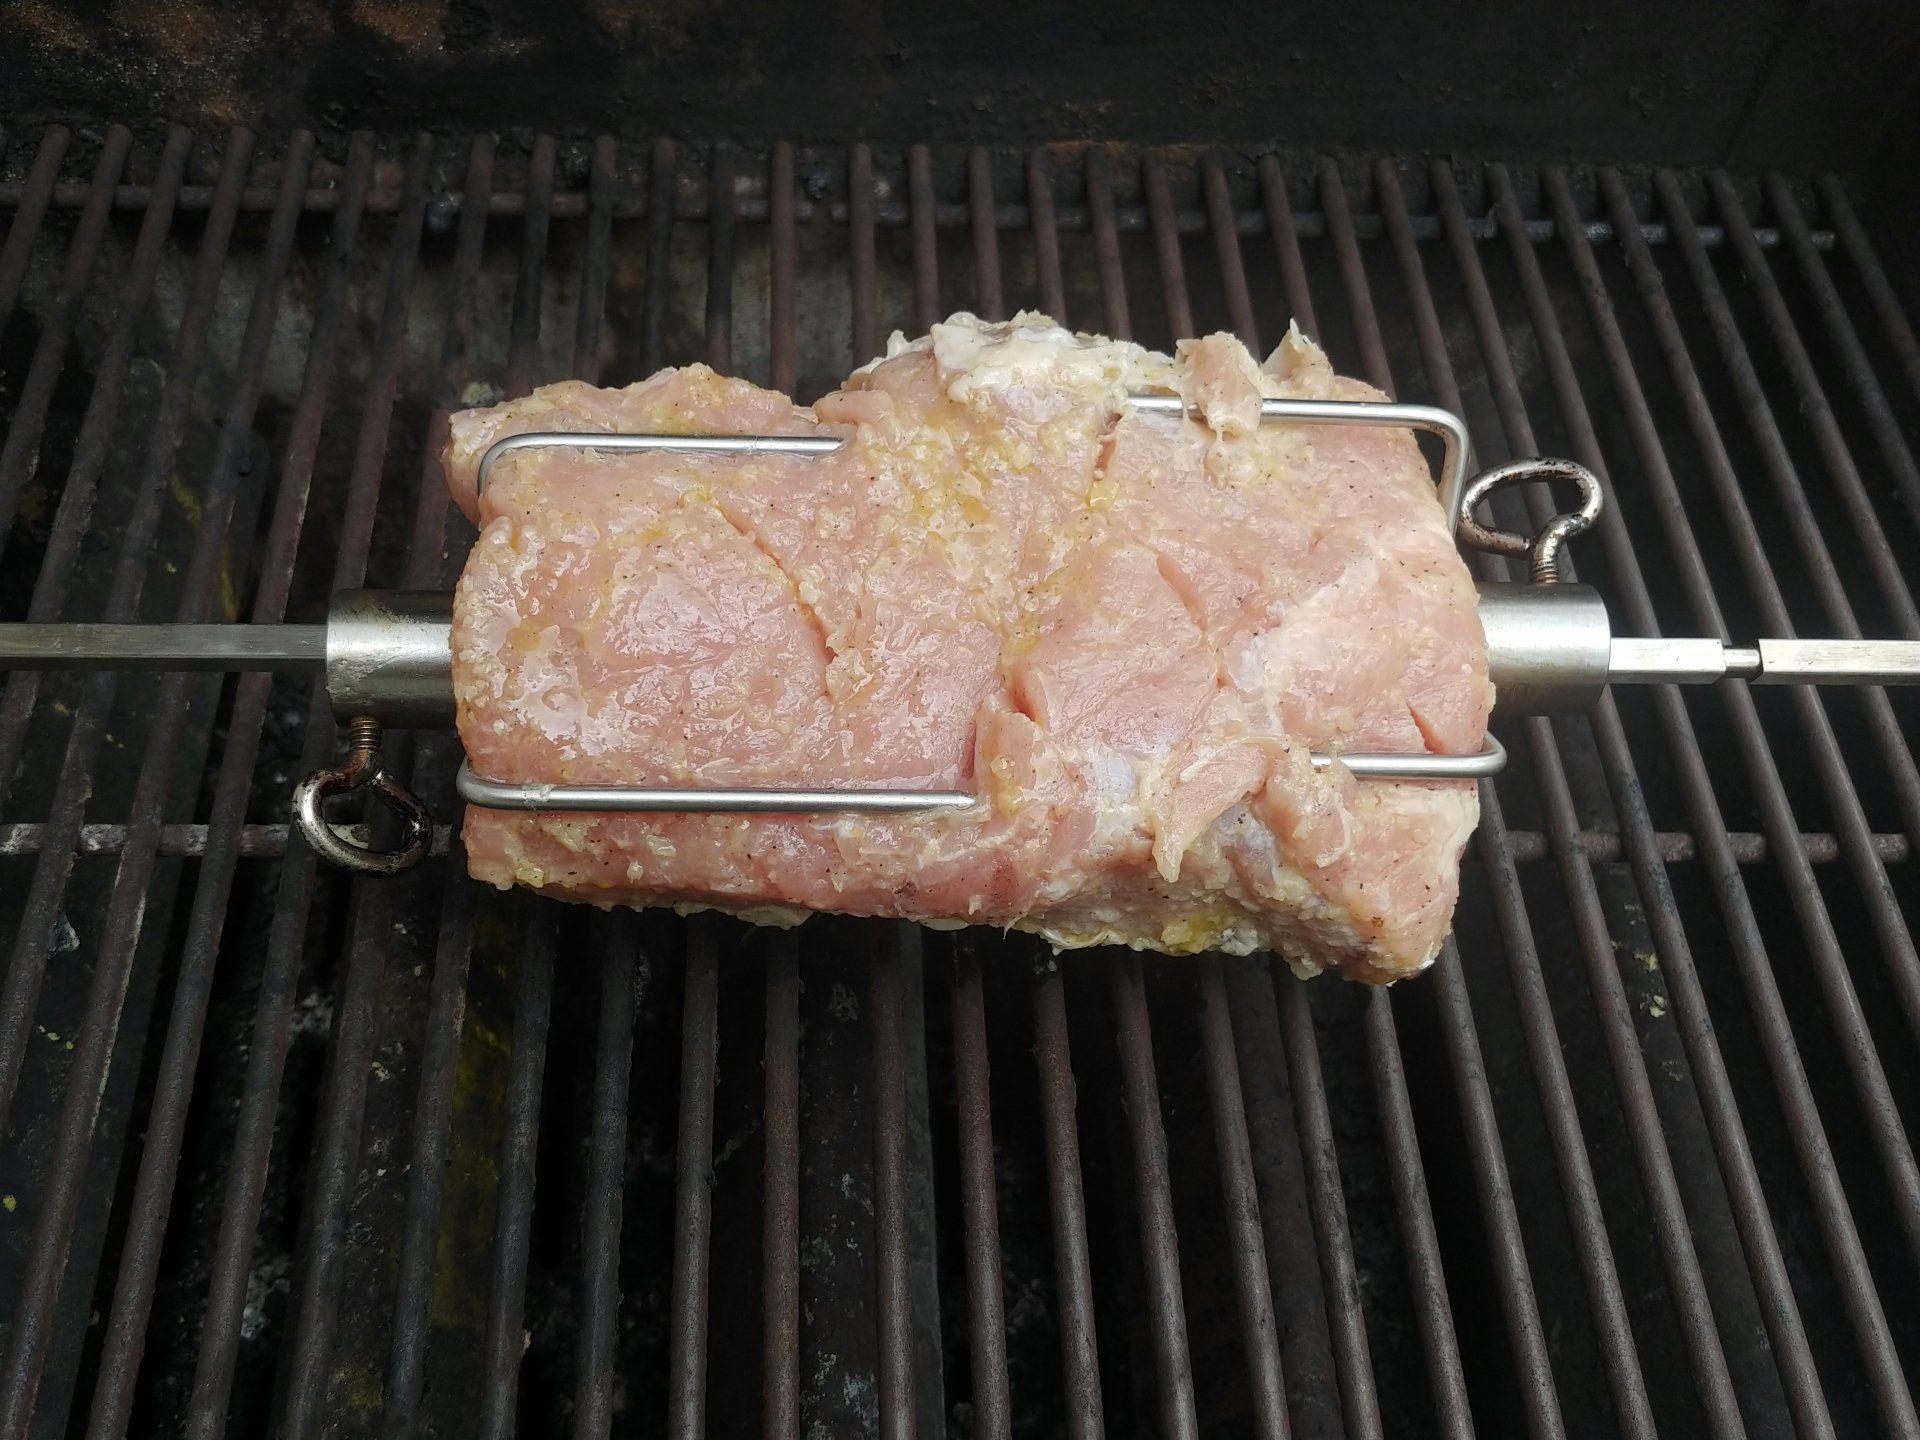
3. Place the meat on a gyro needle:
3.1. Before you start, leave one of the needle's forks, which is further from the needle's sharp end, in its’ regular spot (the first ⅓ of the needle -- closer to the needle’s handle, should be in), and make sure that its’ screw is tight. Remove the other needle's fork and put aside for a later step.3.2. Remove the marinated meat from the refrigerator and then run the rotisserie needle through the meat. Make sure that the needle goes right through the center to ensure that it will rotate evenly in future steps.3.3. When the meat gets to the center of the needle, put on the remaining needle's fork, and tighten the screw. Both forks should fully penetrate the meat and hold the meat between them very tightly. You may have to adjust the first needle's fork in order to reach the center of the meat.
B. Steaks - Gyro Style
- This method is perfect for reaching gyro-like tenderness, cuts, and texture.
- It can be used for any kind of smaller-sized meat, such as chicken breasts, or for cuts of meat, such as pork chops or any steak recipe. The meat should not be pounded for this recipe, and the thickness of the meat put on the needle should be ½" and higher.
- Instructions:
1. Prepare and marinate the meat according to the recipe (skip pounding the meat if required by the recipe).2. Place meat on the gyro needle:
1.1. Before you start, leave one of the needle's forks, which is further from the needle's sharp end, in its’ regular spot (the first ⅓ of the needle, closer to the needle handle, should be in) and make sure that its’ screw is tight. Remove the other needle's fork and put aside for a later step.1.2. Remove the marinated meat from the refrigerator and then place the pieces one by one on the rotisserie needle. Make sure that the needle goes right through the center of each piece of meat to ensure that it will rotate evenly in future steps.1.3. When all pieces of meat are on the needle, put on the remaining needle's fork, and tighten the screw. Both forks should fully penetrate the meat and hold the meat between them very tightly. You may have to adjust the first needle's fork in order to reach the center of the meat.
2. Rotisserie preparation:
2.1. Grill preparation only: If your meat is larger (a turkey, whole pork leg, etc.), you may have to first remove the grill grates to create more space and allow for proper rotation before you proceed to further steps.2.2. Place a small baking sheet under the rotisserie before you start -- the pan will collect the juices before and during cooking.2.3. Place the meat on the needle and into a cold grill or oven before you start. For this procedure, follow the specific instructions for your rotisserie. It is most common to insert the needle into the opening of the engine’s unit.

3. Prepare on a rotisserie:
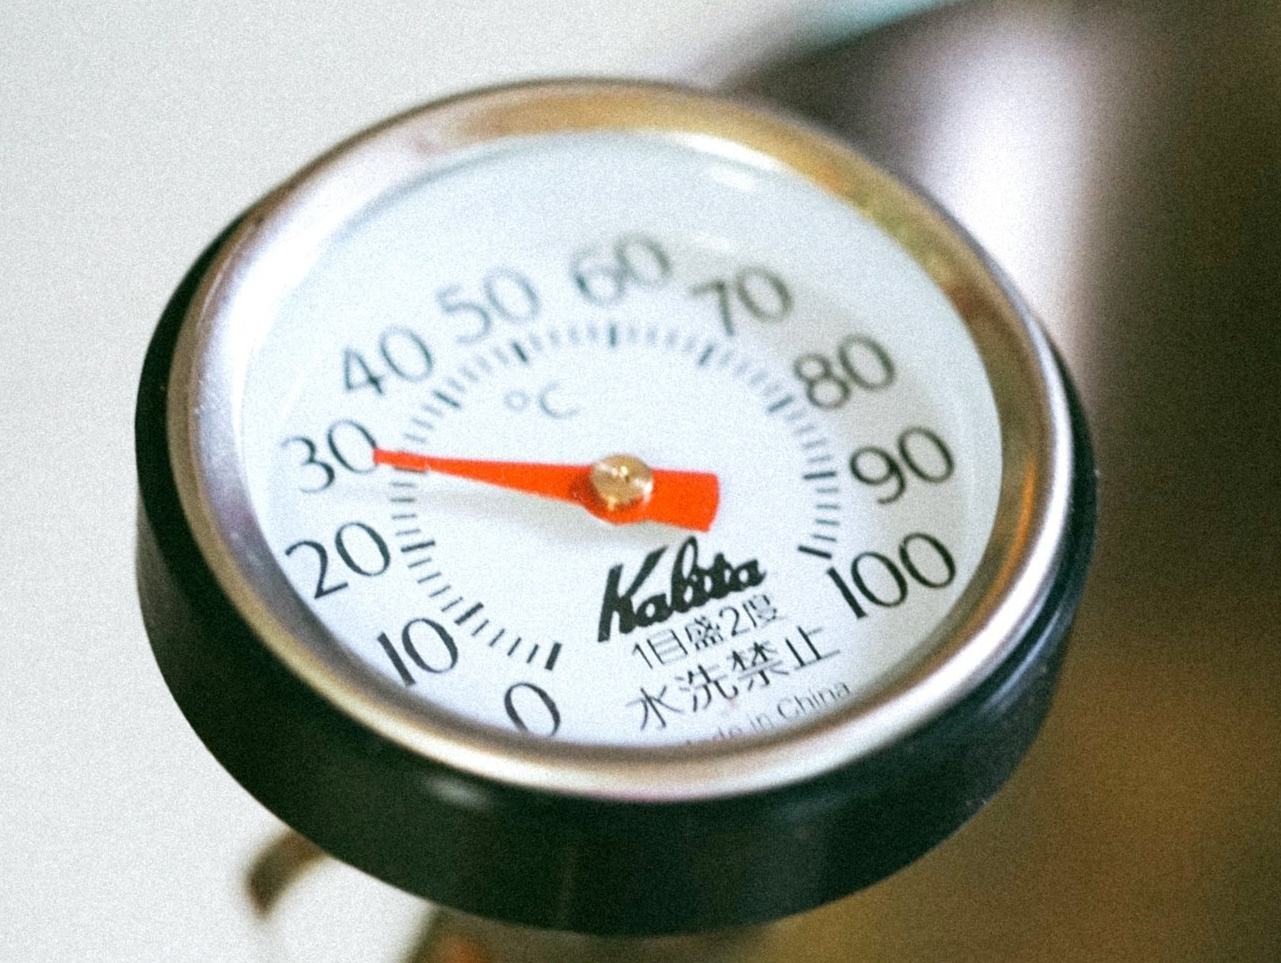
3.1. Start the rotation and then start the heat. For rotisserie on a grill, close the lid and use only indirect heat (high heat on the side, but not under the meat). If you are using an oven or rotisserie oven, follow the enclosed instructions.3.2. Keep a heat high until you reach the temperature required in the recipe, then adjust the temperature accordingly to be able to stay at the required temperature. I prefer the temperature to be between 300° - 350°F.3.3. Brush with the marinade regularly during the rotisserie process -- preferably every 10 - 15 minutes.3.4. Cook on a rotisserie until you reach the meat’s desired internal temperature - check with a food thermometer. See section “Recommended and Safe Internal Temperatures of Meat and Fish” here.3.5. You can wait until the whole meat is done (for example with birds), or you can slice off the cooked layers of meat during the rotisserie process (pork leg, loins, and steaks when you reach a gyro-like texture). The second option is especially great for parties because it allows for continuous eating as you slice pieces off, bit by bit. But be careful and cut only a thin surface layer; don't cut too deep to avoid portioning raw meat. If you accidently do so, place the raw side down on the grill (or pan), and cook until finished.
Don’t Have Any Rotisserie Solutions?
Don’t worry. Use your grill to partially imitate this technique and reach great results too. This works only for whole (large) pieces of meat.
1. Preheat the side burners on your grill until you reach an internal temperature of 300°F (do not use a baking sheet to collect juices).
2. Place the meat on the center of your grill (on the grates) and use indirect heat (heat on the side but not under meat) to prepare. Keep the lid closed during this process.
3. Turn the meat side to side every 2 - 5 minutes (grill from all 4 or even 6 sides if possible).